


Tel: +86 20 8768 7941
Mobile: +86 15817070139
Email: sales@auto-topsun.com
WeChat/WhatsApp: +86 15817070139

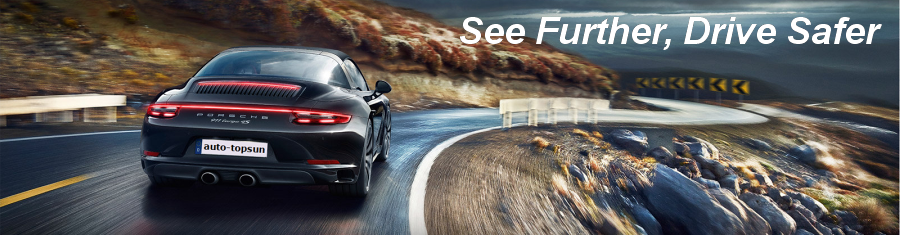
Aftermarket driving lights like spot lights and LED light bars offer the ultimate driving light solution for every vehicle. From trucks and four wheel drives right through to sports cars and family sedans.
It is the responsibility of the vehicles owner to abide by the relevant state and territory rules and regulations. Driving light bars are recommended for off road use only.
Wiring them up doesn’t have to be hard, if you have the right tools. We recommend using a driving light harness which use a simple plug-n-play design meaning all the hard work is already done and you don’t need to spend hours wiring. The kit works by tapping into your cars headlight circuit and feeds the power from your high beam, right to your driving light. You will also have the option to turn the light off completely using the master included switch.
Here’s how to do it.
| What you'll need: |
|
| Procedure: | ||
|
Step 1 - Mounting the light bar
|
|
|
|
Step 2 - Disconnect "Negative" terminal
. |
|
|
|
Step 3 - Mounting the relay & fuse
|
|
|
|
Step 4 - Finding your vehicle's headlamp wiring The light bar needs to be triggered by activation of your high beam. Locate the back of your high beam headlight globe on the side closest to the relay, and remove the plug from the back. |
|
|
|
Step 5 - Attaching the headlamp adaptor Choose the headlamp adaptor supplied in the kit which suits your plug, and connect this to the factory plug. Another end connects to your headlight globe, and the third end plugs into your new harness. These plugs will only fit one way.
|
|
|
|
Step 6 - Mounting the switch Now mount the switch in the cab locating it convenient to the driver. 
|
|
|
|
Step 7 - Running the wires through the firewall
|
|
|
|
Step 8 - Connecting the two harnesses Connect this plug to the one which comes off your relay. 
|
|
|
|
Step 9 - Connecting the light bar/driving lights The final piece in the installation is the plugs for your light bar. The single plug must be connected to the relay, and the ring terminal on this end needs to be connected to an earth. Either directly to the negative terminal of the battery, or to a bolt with bare metal contact to the body. 
|
|
|
|
Step 10 - Taping additional wiring away
Now with the plugs that connect to the lights, if you are using a light bar, only one of the plugs needs to be connected.
|
|
|
|
Step 11 - Reconnecting the negative terminal Now you’re on to your last step, reconnect the negative terminal to your battery and you should be good to go!Put the switch for your new lights in the “on” position and turn on your headlights. |
|
|
|
Step 12 - Testing
The light bar should not illuminate until you flick on the high beam.
|
|
|
|
Step 13 - Finished! If your light bar switches off and your high beams remain on, you have successfully wired in your own LED light bar.
|
|
|
Factory add: No.18, 1st Industry Area, Chentian, Baiyun District, Guangzhou, China P.C:510420
Tel: +86-20-87687941 Fax: +86-20-87687942 Email: sales@auto-topsun.com
Copyright:Topsun Auto Accessories Co.,Ltd. All Rights Reserved. 粤ICP备18062747号


